
A relief panel viewed flat on a desk does not show the same shadows as a panel beside a wall light. Changing the direction of illumination can make one face of a pattern prominent and another almost disappear.
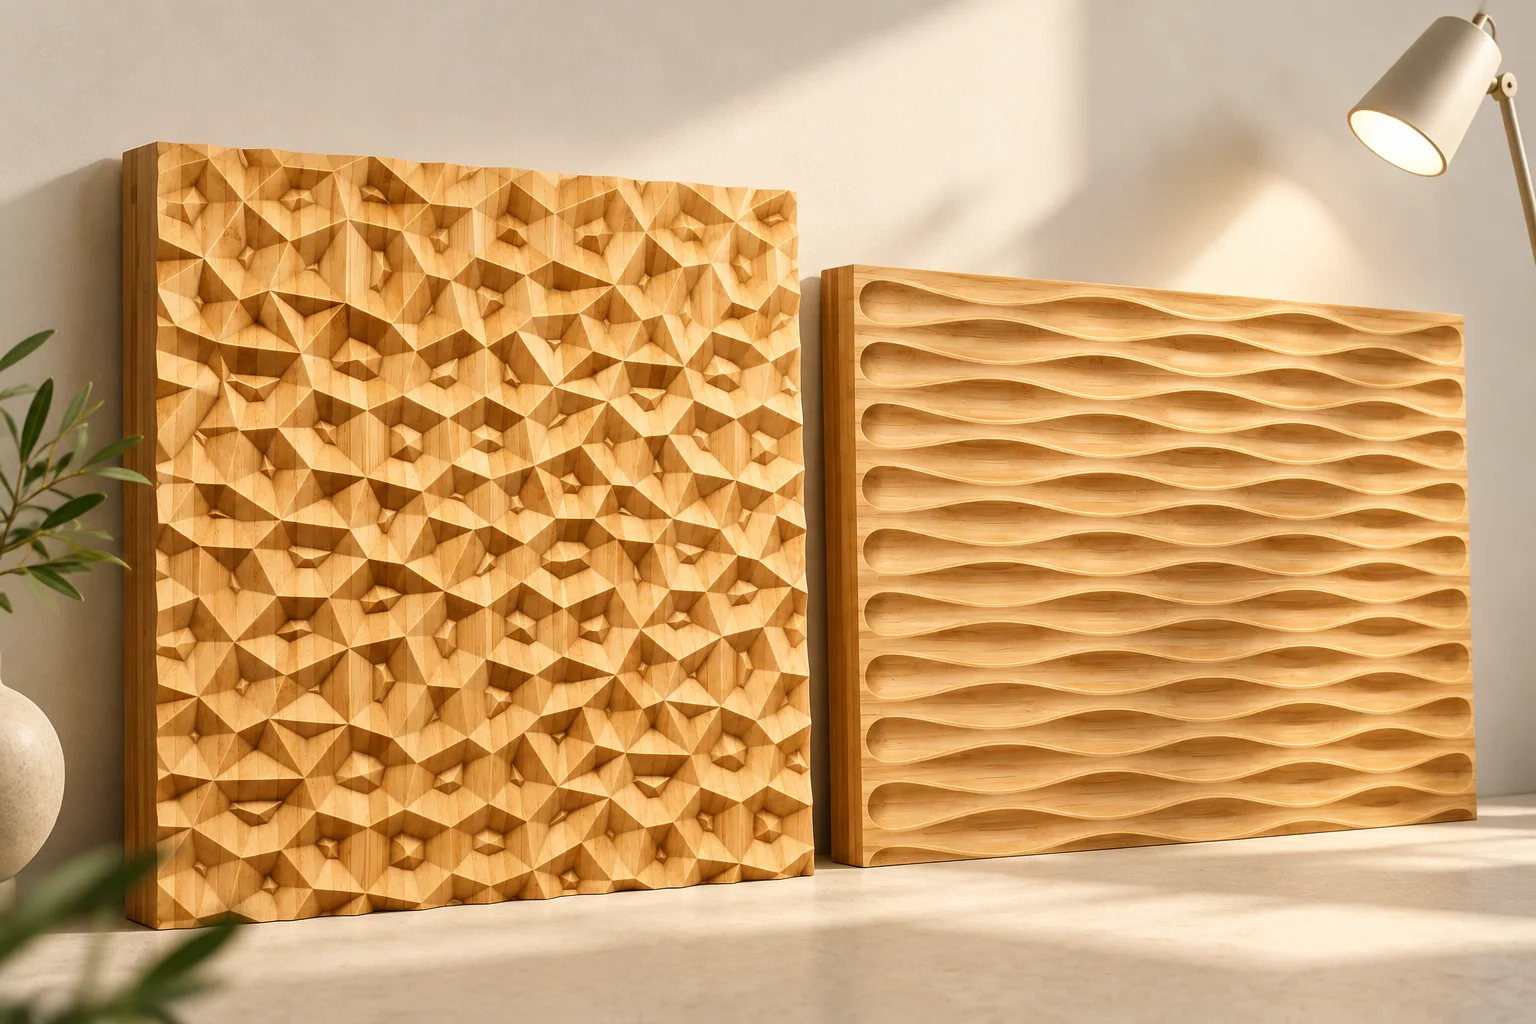
That is a visual-selection issue worth resolving before choosing a large feature wall. An attractive photograph records one lighting arrangement, not every arrangement the installed surface will encounter.
Start with the relief you are actually choosing
The 3D Geometric Bamboo Wall Panel uses faceted planes. The 3D Wave Bamboo Wall Panel uses fine flowing channels. Their published descriptions identify directional or grazing light as part of how the relief reads.
Compare a physical sample of the proposed profile and finish, not two differently lit product images. Identify the sample's scale and orientation. A small piece can help compare surface effects without proving how a complete repeated wall will look.
Keep the intended light direction visible
Ask the lighting designer to identify the relevant light positions and directions for the review. Compare the panel under the nominated conditions, including the ordinary room lighting rather than only a dramatic presentation light.
Where daylight matters, record the condition being observed. One sunny-hour photograph should not become a promise about the wall throughout the day. If fixture position is unresolved, keep texture approval provisional for the conditions that depend on it.
Compare from where the wall will be seen
| View | What it can reveal | What to record |
|---|---|---|
| Across the room | Overall pattern emphasis and contrast | Viewing position and lighting condition |
| Passing beside the wall | How relief and shadows change at an oblique angle | Direction of approach and panel orientation |
| Close to the surface | Grain, edges and finish in recesses | Physical sample identity and finish reference |
| At the intended focal point | Relationship with furniture, sign or artwork | Which element should attract attention first |
For a reception backdrop, the preferred effect may be quiet texture behind the counter. For another wall, the relief may itself be the focal point. Define that difference before deciding which sample appears “stronger.”
Make photographs useful without making them the standard
Record the sample code, orientation, light setup and viewpoint with review photographs. When comparing two proposals, keep those conditions as consistent as practicable. A brighter exposure or closer framing can make a surface look more dramatic without changing its construction.
Retain the approved physical reference and any agreed appearance limits. Screens and photographs support communication but do not replace a traceable sample. If finish or relief depth changes, revisit the conditions affected by that change.
Do not convert visual relief into a performance claim
This comparison does not establish acoustic absorption, fire performance, moisture resistance or lighting efficiency. Those require separate project requirements and relevant evidence. Panel layout, substrate, fixing and electrical installation also retain their own responsible parties.
Send a textured-wall-panel enquiry with the desired relief, finish direction, important views and lighting proposal. Final panel construction and the scope of appearance approval should be recorded before the full-wall order.