
A fabric swatch cannot show how the edge of a finished chair will look. Two samples made with the same cloth can differ noticeably because one has a plain seam while the other has visible stitching or a raised trim along the edge.
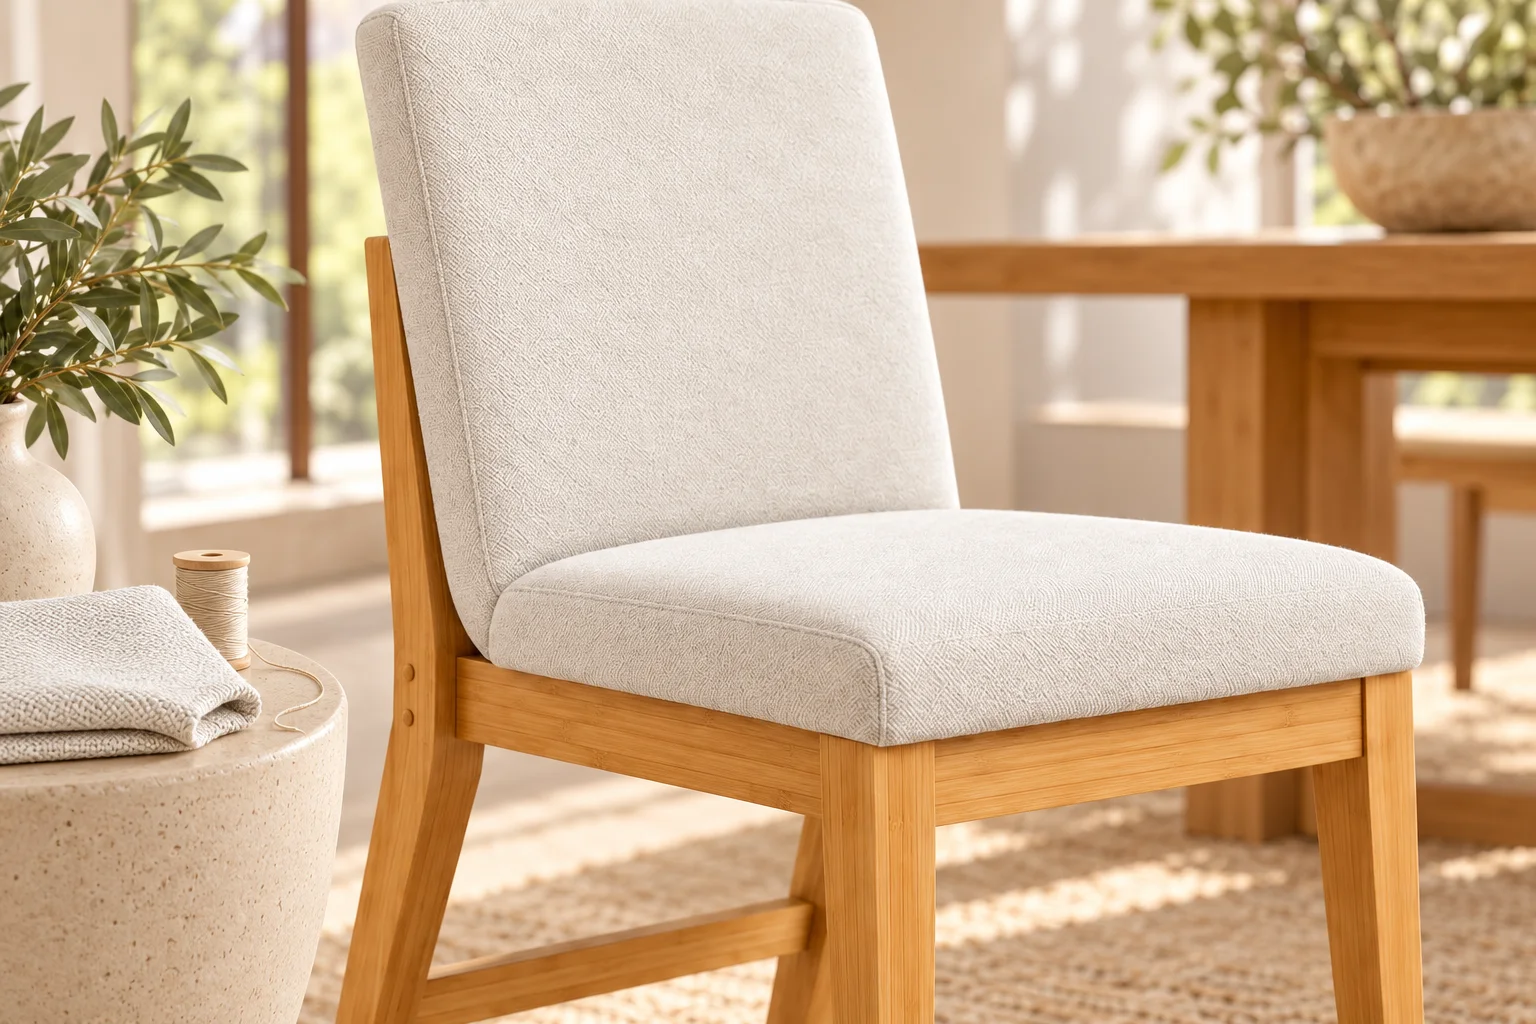
The Bamboo Upholstered Dining Chair shows tailored seams around its upholstered reference. The Upholstered Bamboo Lounge Chair calls for stitching to be reviewed with the sample. These are starting points for a detail discussion, not confirmation that every seam or trim option is available.
Use pictures to separate three different requests
A seam joins material panels. Topstitching adds a visible stitched line on the face. Piping, also called welting in upholstery contexts, introduces a distinct edge trim. Do not rely on the instruction “same stitching” when the reference actually asks for a different edge treatment.
Sewing supplier Sailrite demonstrates piping as a separate fabricated detail. The procurement point is simple: a trim needs its own material and appearance decision. Its presence should not be inferred from a neat-looking seam in a product photograph.
Give each visible detail a location
Mark the seat front, side edge, inside back and outer back as applicable. Use short detail codes on an overall view, then attach the corresponding close-up. A close photograph without its location can leave the supplier guessing which part of the chair it describes.
Specify whether the thread should blend into the fabric or form a visible contrast. If piping is requested, identify its color and material reference separately from the main panel. Ask the supplier to review the proposed treatment around the actual curves and junctions before treating it as part of the quotation.
Do not prescribe a generic stitch count as proof of strength. Appearance acceptance and seam performance are different questions. Construction and any necessary evidence should be reviewed by the responsible upholstering team for the nominated fabric and assembly.
Keep a detail-code sheet beside the sample
| Detail | What to specify | How to record acceptance |
|---|---|---|
| Panel junction | Exact location and intended seam appearance | Overall view linked to a close-up |
| Visible stitching | Placement, thread reference and contrast direction | Representative made-up detail |
| Requested piping | Location, material, color and agreed profile | Accepted sample and feasibility confirmation |
| Corners and endings | How adjoining details meet or finish | Named exception or accepted junction |
| Version control | Chair, textile and detail-sheet revision | Sample label tied to the current order |
Review the complete chair, not only the close-up
Check the detail at the normal viewing distance as well as close up. A contrast line may look restrained on a small sample and dominate the outline of a complete chair. Review the front and rear where both will be visible in the room.
Keep this decision separate from pattern placement and which chair components are upholstered. The pattern guide decides how stripes or motifs sit across panels; this sheet defines the seam and trim treatment at their edges.
If a requested trim is not feasible, ask for a clearly identified alternative before sample acceptance. Do not silently replace it with a different seam and leave the original reference in the order pack.
Send a seating detail brief with the chair references, quantities, fabric information and marked views. Final seam construction, thread, trim availability and performance requirements need agreement for the supplied version.